and
and  WHEN BUY 3 KITS


Introduction
While many people struggle with glasses that are too loose, some experience the opposite problem: frames that are too tight around the temples or ears. Tight glasses can cause discomfort, headaches, and even pressure marks on the skin. The good news is that loosening eyeglass arms is a simple DIY task when done carefully.
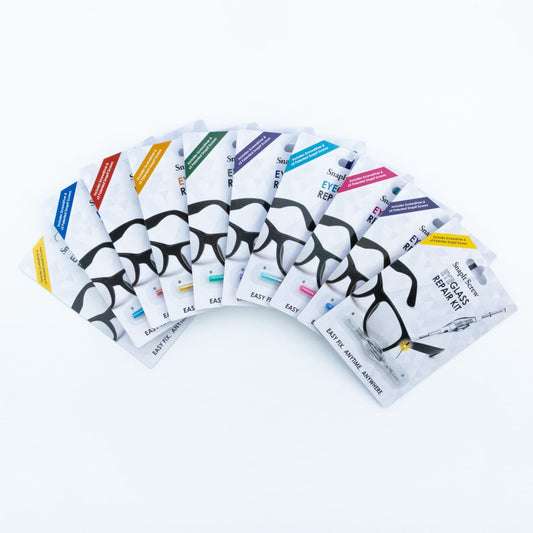
Using Snapit repair kits and refill screws, you can adjust glasses arms safely at home, improving comfort and fit without compromising the integrity of the frames. This step-by-step guide will show you how.
Step 1: Identify the Problem
-
Temples too tight – Arms press firmly against the sides of your head or ears.
-
Arm alignment issues – One arm may be tighter than the other.
-
Frame bending – Metal frames can become misaligned from regular use or accidents.
Understanding the cause of tightness helps you choose the right adjustment method.
Step 2: Gather Your Tools
For a successful adjustment, you will need:
-
Mini screwdrivers (Phillips and flathead)
-
Tweezers for handling small screws
-
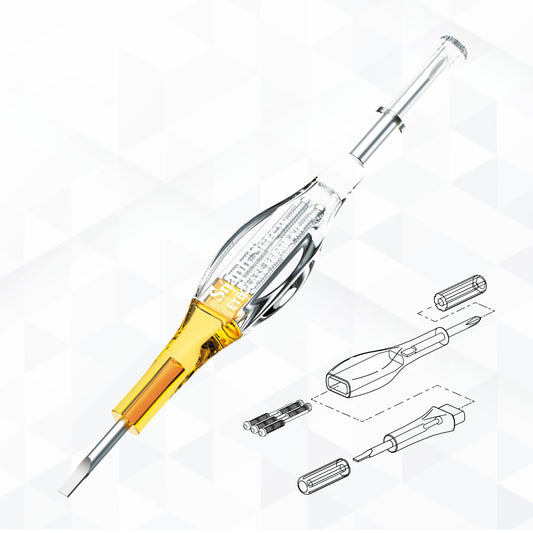
Snapit patented screw system to securely place screws
-
Magnifying glass to inspect small parts
-
Soft mat to prevent screws from rolling away
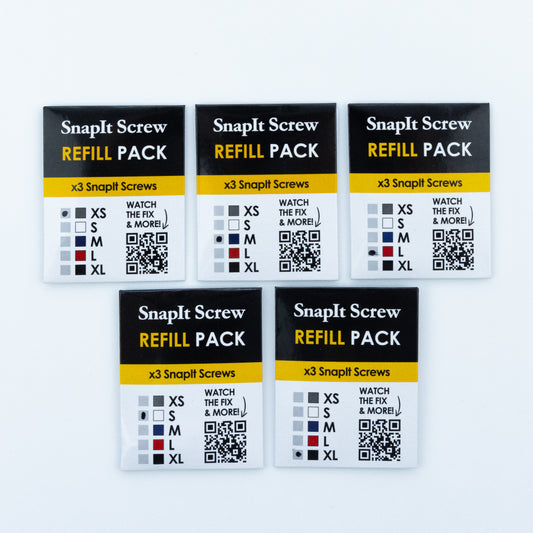
Snapit kits provide all standard screw sizes (M1.2–M1.7) and tools for a wide variety of frames. Missing screws? Use a Snapit Refill Kit: Snapit Screw Refill Kit.
Step 3: Loosening the Arms
Metal Frames
-
Gently hold the glasses frame with one hand.
-
Use gradual pressure to bend the temples outward slightly.
-
Make small adjustments and test fit after each bend to avoid over-stretching.
Plastic Frames
-
Heat the arms in warm water for 10–20 seconds to make them flexible.
-
Carefully bend outward to increase temple width.
-
Let the arms cool naturally before trying them on.
Step 4: Adjusting Screws
Sometimes tight arms are caused by screws that are over-tightened or misaligned.
-
Inspect all hinge screws using a magnifying glass.
-
Loosen screws slightly if they are tight.
-
Tighten just enough to keep the arm secure without restricting movement.
-
Replace damaged or stripped screws with Snapit refill screws.
Step 5: Fine-Tuning the Fit
-
Ensure both arms are equally loose and comfortable.
-
Adjust nose pads if glasses slide forward after loosening arms.
-
Wear the glasses for a few minutes to confirm comfort.
Step 6: Maintenance Tips
-
Check screws monthly to prevent accidental over-tightening or loosening.
-
Avoid forceful bending; make incremental adjustments.
-
Use Snapit kits for easy future repairs and consistent fit.
-
Keep spare screws organized in a Snapit refill kit for quick fixes.
Common Mistakes to Avoid
-
Excessive force – Can break frames or snap plastic arms.
-
Skipping screw checks – Overlooked screws can cause uneven fit.
-
Heating too much – Overheating plastic frames may warp or discolor them.
-
Ignoring alignment – Misaligned arms can twist lenses or reduce vision clarity.
Snapit kits reduce these risks with clear instructions, precision tools, and patented screws for secure installation.
Why Snapit Kits Are Ideal
-
Multiple screw sizes (M1.2–M1.7) for nearly every frame type
-
Precision tools for careful adjustments
-
Patented screws that prevent slipping and lost parts
-
Refill kits to maintain your glasses over time
With Snapit, loosening eyeglass arms becomes a safe, reliable, and repeatable process.
Bottom Line
Tight glasses don’t have to cause discomfort. By following these steps and using a Snapit Eyeglass Repair Kit along with a Snapit Screw Refill Kit, you can loosen glasses arms safely at home and enjoy a more comfortable fit. Regular maintenance ensures your frames remain aligned, stable, and comfortable for everyday wear.
#LoosenGlasses #DIYGlasses #SnapitScrew #GlassesRepair #EyewearCare #SnapitRefill #GlassesFix