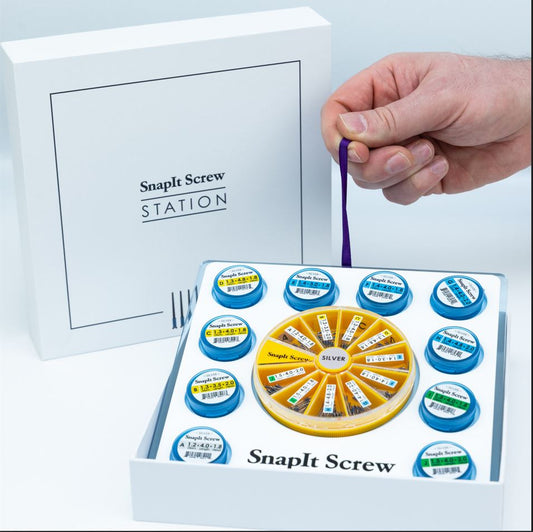
Repairing your glasses at home doesn’t have to be complicated. With a basic eyeglass repair kit, you can handle common issues like loose screws, wobbly arms, or broken nose pads. This guide explains how to use an eyeglass repair kit effectively, helping you save time and money while keeping your eyewear in great shape. Whether you’re dealing with prescription glasses or sunglasses, these practical tips will ensure you can fix problems right away.
Why You Need an Eyeglass Repair Kit
An eyeglass repair kit is an essential tool for anyone who wears glasses regularly. These kits are designed to address common problems like loose screws, broken arms, or damaged nose pads. By learning how to use a repair kit, you can avoid expensive visits to an optician for minor issues and ensure your glasses are always ready to wear.
Repair kits are compact and easy to carry, making them ideal for quick fixes at home, at work, or on the go. Whether you need to replace a screw or adjust a frame, having a kit handy can save the day.
What’s Included in an Eyeglass Repair Kit?
A typical eyeglass repair kit contains:
-
Mini screwdriver: Often in flat-head or Phillips styles, designed for tiny screws.
-
Replacement screws: Fits most frames, including metal and plastic.
-
Tweezers: Helps handle small parts like screws or nose pads.
-
Nose pads: Spare pieces to replace broken or uncomfortable ones.
-
Magnifying glass: A tool for seeing small parts more clearly.
-
Storage case: Keeps all components organized and easy to find.
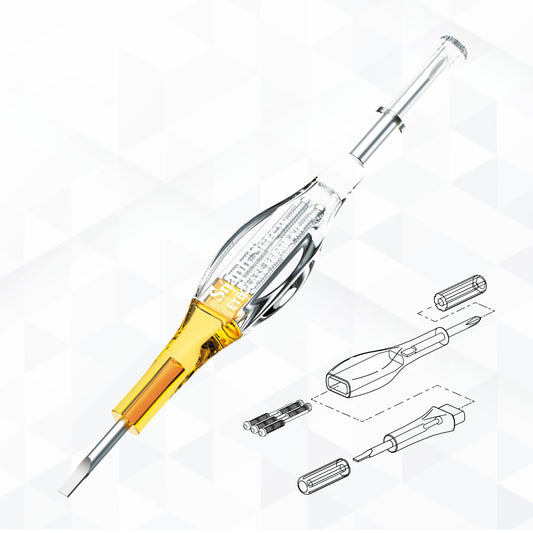
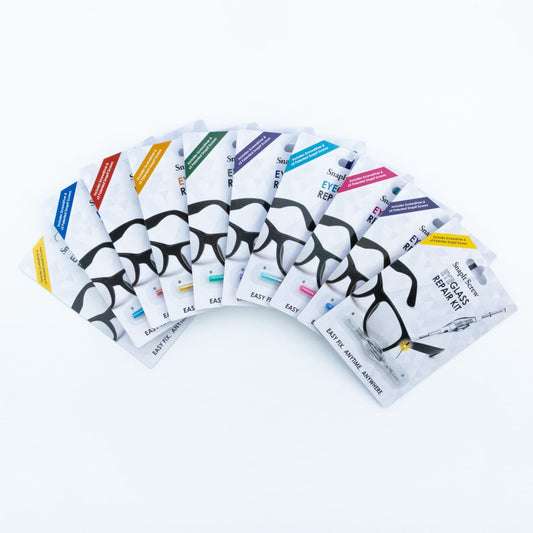
Some kits, like the SnapIt Screw Kit, include screws with patented feeder tips, simplifying screw alignment and installation.
How to Tighten Loose Screws with a Screwdriver
Loose screws are a common issue that can make glasses wobbly or uncomfortable. Here’s how to fix them:
-
Inspect the screws: Check the hinges and frame for loose screws.
-
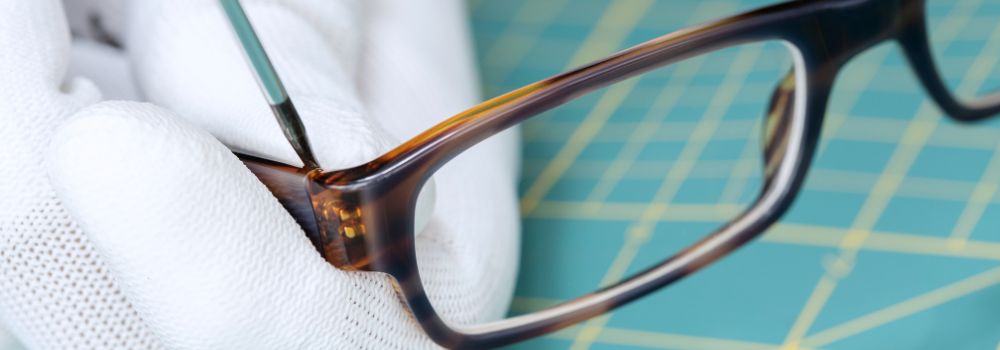
Use the screwdriver: Select the right head size and gently tighten the screw.
-
Prevent future loosening: Apply a small amount of thread locker or clear nail polish to secure the screw in place.
The SnapIt Screw Kit makes this process easier by providing screws with feeder tips for precise alignment. Once tightened, the feeder tip snaps off for a clean finish.
Fixing a Broken Arm: Step-by-Step Instructions
A broken arm can make glasses impossible to wear, but it’s a repairable issue:
-
Assess the damage: Determine whether the hinge is broken or the arm has detached.
-
Align the pieces: Position the arm and hinge properly.
-
Insert a new screw: Select a replacement screw from the repair kit and secure it with a screwdriver.
-
Reinforce the connection: If needed, apply a small amount of glue to stabilize the repair.
Using a SnapIt screw ensures the arm is securely attached without the hassle of handling tiny screws.
How to Repair Hinges on Glasses
Hinges often become loose or misaligned with regular use. To fix them:
-
Identify the problem: Check for loose screws or bent parts.
-
Tighten or replace screws: Use the screwdriver to tighten the hinge screws. If a screw is missing, replace it with one from the kit.
-
Adjust the hinge: Gently bend the hinge back into place using pliers or your fingers.
For precise repairs, the SnapIt Screw Kit is ideal, ensuring a secure fit with minimal effort.
Replacing Nose Pads with an Eyeglass Repair Kit
Broken or uncomfortable nose pads can cause irritation but are easy to replace:
-
Remove the damaged pads: Unscrew or pull off the old pads carefully.
-
Install new pads: Align the replacement pads and attach them using the screws provided in the kit.
-
Secure the screws: Tighten them gently with the screwdriver to avoid over-tightening.
Some repair kits include spare nose pads, making this a quick and straightforward fix.
How to Secure Loose Lenses in the Frame
Loose lenses can make your glasses unstable and prone to further damage. Follow these steps:
-
Inspect the frame: Look for gaps or loose screws holding the lens in place.
-
Tighten the screws: Use the screwdriver to secure the frame around the lens.
-
Reinforce with glue: If the lens is still loose, apply a thin layer of glue to the frame edge, avoiding the lens surface.
This repair works well for both prescription glasses and sunglasses.
Repair Tips for Rimless Frames
Rimless frames are delicate and require special care during repairs. Here’s what to do:
-
Inspect the connection points: Check where the lenses attach to the bridge and arms.
-
Tighten screws carefully: Use a small screwdriver to secure the screws without over-tightening.
-
Replace damaged parts: If a screw or connection point is beyond repair, use replacement components from the kit.
Handle rimless frames with care to avoid damaging the lenses or connections.
Temporary Fixes Using Household Items
If you don’t have a repair kit handy, you can use everyday items for temporary fixes:
-
Rubber bands: Wrap around a broken hinge or arm to hold it in place.
-
Paper clips: Bend into shape and use to secure loose parts temporarily.
-
Glue: Apply sparingly to cracks or gaps in the frame for a quick fix.
These solutions are temporary, so make sure to use a repair kit for a permanent fix as soon as possible.
When to Seek Professional Glasses Repair?
While an eyeglass repair kit can handle most minor issues, some problems require professional help:
-
Severe damage: Frames broken in multiple places or deep scratches on lenses.
-
Complex repairs: Intricate or delicate frames like rimless or designer glasses.
-
Lens replacement: For cracked or scratched lenses that affect your vision.
For minor fixes, however, an eyeglass repair kit is usually more than sufficient.
 and
and  WHEN BUY 3 KITS

